Quick Start Guide
The fastest way to try SynchDB is with the pre-built Docker images for SynchDB and companion sources (MySQL, SQL Server, Oracle, etc.). Use the repo’s ezdeploy.sh (Linux only) to guide you with simple interactive prompts to spin up your chosen sources plus optional Prometheus/Grafana, so you can validate capture and replication in minutes.
ezdeploy.sh
This tool can be downloaded from SynchDB source repository here. It requires docker, and docker-compose (or docker compose) and must be run on Linux. It prints a list of deployment options when run:
./ezdeploy.sh
----------------------------------
-----> Welcome to ezdeploy! <-----
----------------------------------

please select a quick deploy option:
         1) synchdb only
         2) synchdb + mysql
         3) synchdb + sqlserver
         4) synchdb + oracle23ai
         5) synchdb + oracle19c
         6) synchdb + olr(oracle19c)
         7) synchdb + all source databases
         8) custom deployment
         9) deploy monitoring
        10) teardown deployment
enter your selection:
- For synchdb deployment only, use option
1). - For synchdb + 1 source database, use option
2)to6). - For synchdb + all source databases, use option
7). - For synchdb + custom source databases, use option
8). - For prometheus and grafana monitoring deployment, use option
9). - to teardown all deployment, use option
10).
Access Details of Source Databases for Testing
MySQL:
- database: inventory
- schema: N/A
- user: mysqluser
- password: mysqlpwd
Sqlserver:
- database: testDB
- schema: dbo
- user: sa
- password: Password!
Oracle23ai:
- database: FREE
- schema: c##dbzuser
- user: c##dbzuser
- password: dbz
Oracle19c:
- database: FREE
- schema: DBZUSER
- user: DBZUSER
- password: dbz
Openlog Replicator (OLR):
- service name: ORACLE
Access Synchdb with psql
Once deployed, synchdb can be accessed by:
docker exec -it synchdb bash -c "psql -d postgres"
Once connected, create the synchdb extension:
CREATE EXTENSION synchdb CASCADE;
Create a Connector
Here are some examples to create a basic connector for each supported source database type.
MySQL:
SELECT synchdb_add_conninfo('mysqlconn',
                            'mysql',
                            3306,
                            'mysqluser',
                            'mysqlpwd',
                            'inventory',
                            'postgres',
                            'null',
                            'null',
                            'mysql');
Sqlserver:
SELECT synchdb_add_conninfo('sqlserverconn',
                            'sqlserver',
                            1433,
                            'sa',
                            'Password!',
                            'testDB',
                            'postgres',
                            'null',
                            'null',
                            'sqlserver');
Oracle23ai:
SELECT synchdb_add_conninfo('oracleconn',
                            'oracle',
                            1521,
                            'c##dbzuser',
                            'dbz',
                            'FREE',
                            'postgres',
                            'null',
                            'null',
                            'oracle');
Oracle19c:
SELECT synchdb_add_conninfo('ora19cconn',
                            'ora19c',
                            1521,
                            'DBZUSER',
                            'dbz',
                            'FREE',
                            'postgres',
                            'null',
                            'null',
                            'oracle');
OLR(Oracle19c):
SELECT synchdb_add_conninfo('olrconn',
                            'ora19c',
                            1521,
                            'DBZUSER',
                            'dbz',
                            'FREE',
                            'postgres',
                            'null',
                            'null',
                            'olr');

SELECT synchdb_add_olr_conninfo('olrconn',
                                'OpenLogReplicator',
                                7070,
                                'ORACLE');
View Created Connectors:
SELECT * FROM synchdb_conninfo;
More details on creating a connector can be found here
Create Object Mappings
By default, source database names will be mapped to a schema name in destination. Object mappings can be used to change this schema name. Let's change the destination schema for orders table from oracle based connectors and leave the rest as default.
SELECT synchdb_add_objmap('oracleconn','table','free.c##dbzuser.orders','oracle23ai.orders');
SELECT synchdb_add_objmap('ora19cconn','table','free.dbzuser.orders','oracle19c.orders');
SELECT synchdb_add_objmap('olrconn','table','free.dbzuser.orders','olr.orders');
More details on creating a object mappings can be found here
Create JMX Exporter - Optional
Here are some examples to enable JMX exporter for monitoring (If Prometheus + Grafana have been pre-deployed by ezdeploy.sh):
MySQL:
SELECT synchdb_add_jmx_exporter_conninfo(
                            'mysqlconn',
                            '/home/ubuntu/jmx_prometheus_javaagent-1.3.0.jar',
                            9404,
                            '/home/ubuntu/jmxexport.conf');
Sqlserver:
SELECT synchdb_add_jmx_exporter_conninfo(
                            'sqlserverconn',
                            '/home/ubuntu/jmx_prometheus_javaagent-1.3.0.jar',
                            9405,
                            '/home/ubuntu/jmxexport.conf');
Oracle23ai:
SELECT synchdb_add_jmx_exporter_conninfo(
                            'oracleconn',
                            '/home/ubuntu/jmx_prometheus_javaagent-1.3.0.jar',
                            9406,
                            '/home/ubuntu/jmxexport.conf');
Oracle19c:
SELECT synchdb_add_jmx_exporter_conninfo(
                            'ora19cconn',
                            '/home/ubuntu/jmx_prometheus_javaagent-1.3.0.jar',
                            9407,
                            '/home/ubuntu/jmxexport.conf');
More details on creating a JMX Exporter can be found here
Start a Connector
MySQL:
SELECT synchdb_start_engine_bgw('mysqlconn');
Sqlserver:
SELECT synchdb_start_engine_bgw('sqlserverconn');
Oracle23ai:
SELECT synchdb_start_engine_bgw('oracleconn');
Oracle19c:
SELECT synchdb_start_engine_bgw('ora19cconn');
OLR(Oracle19c):
SELECT synchdb_start_engine_bgw('olrconn');
More details on connector start can be found here
Check Connector Running State
Use synchdb_state_view() to examine all connectors' running states.
SELECT * FROM synchdb_state_view;
Example outputs:
postgres=# SELECT * FROM synchdb_state_view;
     name      | connector_type |  pid   |       stage      |  state  |   err    |                                           last_dbz_offset
---------------+----------------+--------+------------------+---------+----------+------------------------------------------------------------------------------------------------------
 sqlserverconn | sqlserver      | 579820 | initial snapshot | polling | no error | {"commit_lsn":"0000006a:00006608:0003","snapshot":true,"snapshot_completed":false}
 mysqlconn     | mysql          | 579845 | initial snapshot | polling | no error | {"ts_sec":1741301103,"file":"mysql-bin.000009","pos":574318212,"row":1,"server_id":223344,"event":2}
 oracleconn    | oracle         | 580053 | initial snapshot | polling | no error | offset file not flushed yet
 ora19cconn    | oracle         | 593421 | initial snapshot | polling | no error | offset file not flushed yet
 olrconn       | oracle         | 601235 | initial snapshot | polling | no error | offset file not flushed yet
(5 rows)
More on running states here, and also running statistics here.
Check the Tables and Data from Initial Snapshot
By default, the connector will perform a initial snapshot to capture both the table schema and initial data, convert and apply them to PostgreSQL under different schema. You should see something similar to the following:
MySQL:
\dt inventory.*
\dt inventory.*
               List of relations
  Schema   |       Name       | Type  | Owner
-----------+------------------+-------+--------
 inventory | addresses        | table | ubuntu
 inventory | customers        | table | ubuntu
 inventory | geom             | table | ubuntu
 inventory | orders           | table | ubuntu
 inventory | products         | table | ubuntu
 inventory | products_on_hand | table | ubuntu
(6 rows)
Sqlserver:
\dt testdb.*
\dt testdb.*
             List of relations
 Schema |       Name       | Type  | Owner
--------+------------------+-------+--------
 testdb | customers        | table | ubuntu
 testdb | orders           | table | ubuntu
 testdb | products         | table | ubuntu
 testdb | products_on_hand | table | ubuntu
(4 rows)
Oracle23ai
\dt oracle23ai.*
\dt oracle23ai.*
          List of relations
   Schema   |  Name  | Type  | Owner
------------+--------+-------+--------
 oracle23ai | orders | table | ubuntu
(1 row)
Oracle19c
\dt oracle19c.*
\dt oracle19c.*
          List of relations
  Schema   |  Name  | Type  | Owner
-----------+--------+-------+--------
 oracle19c | orders | table | ubuntu
(1 row)
OLR
\dt olr.*
\dt olr.*
        List of relations
 Schema |  Name  | Type  | Owner
--------+--------+-------+--------
 olr    | orders | table | ubuntu
(1 row)
Similate an INSERT Event and Observe CDC
We can use docker exec to similate an INSERT for each connector type and observe the Change Data Capture (CDC).
MySQL:
docker exec -i mysql mysql -D inventory -umysqluser -pmysqlpwd -e "INSERT INTO orders(order_date, purchaser, quantity, product_id) VALUES ('2025-12-12', 1002, 10000, 102)"
postgres=# SELECT * from inventory.orders;
 order_number | order_date | purchaser | quantity | product_id
--------------+------------+-----------+----------+------------
        10001 | 2016-01-16 |      1001 |        1 |        102
        10002 | 2016-01-17 |      1002 |        2 |        105
        10003 | 2016-02-19 |      1002 |        2 |        106
        10004 | 2016-02-21 |      1003 |        1 |        107
        10005 | 2025-12-12 |      1002 |    10000 |        102
(5 rows)
Sqlserver:
docker exec -i sqlserver /opt/mssql-tools18/bin/sqlcmd -U sa -P 'Password!' -d testDB -C -Q "INSERT INTO orders(order_date, purchaser, quantity, product_id) VALUES ('2025-12-12', 1002, 10000, 102)"
postgres=# SELECT * from testdb.orders;
 order_number | order_date | purchaser | quantity | product_id
--------------+------------+-----------+----------+------------
        10001 | 2016-01-16 |      1001 |        1 |        102
        10002 | 2016-01-17 |      1002 |        2 |        105
        10003 | 2016-02-19 |      1002 |        2 |        106
        10004 | 2016-02-21 |      1003 |        1 |        107
        10005 | 2025-12-12 |      1002 |    10000 |        102
(5 rows)
Oracle23ai:
echo -ne "INSERT INTO orders(order_number, order_date, purchaser, quantity, product_id) VALUES (10005, TO_DATE('2025-12-12', 'YYYY-MM-DD'), 1002, 10000, 102);\n" | docker exec -i oracle sqlplus c##dbzuser/dbz@//localhost:1521/FREE
postgres=# SELECT * FROM oracle23ai.orders;
 order_number |     order_date      | purchaser | quantity | product_id
--------------+---------------------+-----------+----------+------------
        10001 | 2024-01-01 00:00:00 |      1003 |        2 |        107
        10002 | 2024-01-01 00:00:00 |      1003 |        2 |        107
        10003 | 2024-01-01 00:00:00 |      1003 |        2 |        107
        10004 | 2024-01-01 00:00:00 |      1003 |        2 |        107
        10005 | 2025-12-12 00:00:00 |      1002 |    10000 |        102
(5 rows)
Oracle19c:
echo -ne "INSERT INTO orders(order_number, order_date, purchaser, quantity, product_id) VALUES (10005, TO_DATE('2025-12-12', 'YYYY-MM-DD'), 1002, 10000, 102);\n" | docker exec -i ora19c sqlplus DBZUSER/dbz@//localhost:1521/FREE
postgres=# SELECT * FROM oracle19c.orders;
 order_number |     order_date      | purchaser | quantity | product_id
--------------+---------------------+-----------+----------+------------
        10001 | 2024-01-01 00:00:00 |      1003 |        2 |        107
        10002 | 2024-01-01 00:00:00 |      1003 |        2 |        107
        10003 | 2024-01-01 00:00:00 |      1003 |        2 |        107
        10004 | 2024-01-01 00:00:00 |      1003 |        2 |        107
        10005 | 2025-12-12 00:00:00 |      1002 |    10000 |        102
(5 rows)
OLR:
echo -ne "INSERT INTO orders(order_number, order_date, purchaser, quantity, product_id) VALUES (10005, TO_DATE('2025-12-12', 'YYYY-MM-DD'), 1002, 10000, 102);\n" | docker exec -i ora19c sqlplus DBZUSER/dbz@//localhost:1521/FREE
postgres=# SELECT * FROM olr.orders;
 order_number |     order_date      | purchaser | quantity | product_id
--------------+---------------------+-----------+----------+------------
        10001 | 2024-01-01 00:00:00 |      1003 |        2 |        107
        10002 | 2024-01-01 00:00:00 |      1003 |        2 |        107
        10003 | 2024-01-01 00:00:00 |      1003 |        2 |        107
        10004 | 2024-01-01 00:00:00 |      1003 |        2 |        107
        10005 | 2025-12-12 00:00:00 |      1002 |    10000 |        102
(5 rows)
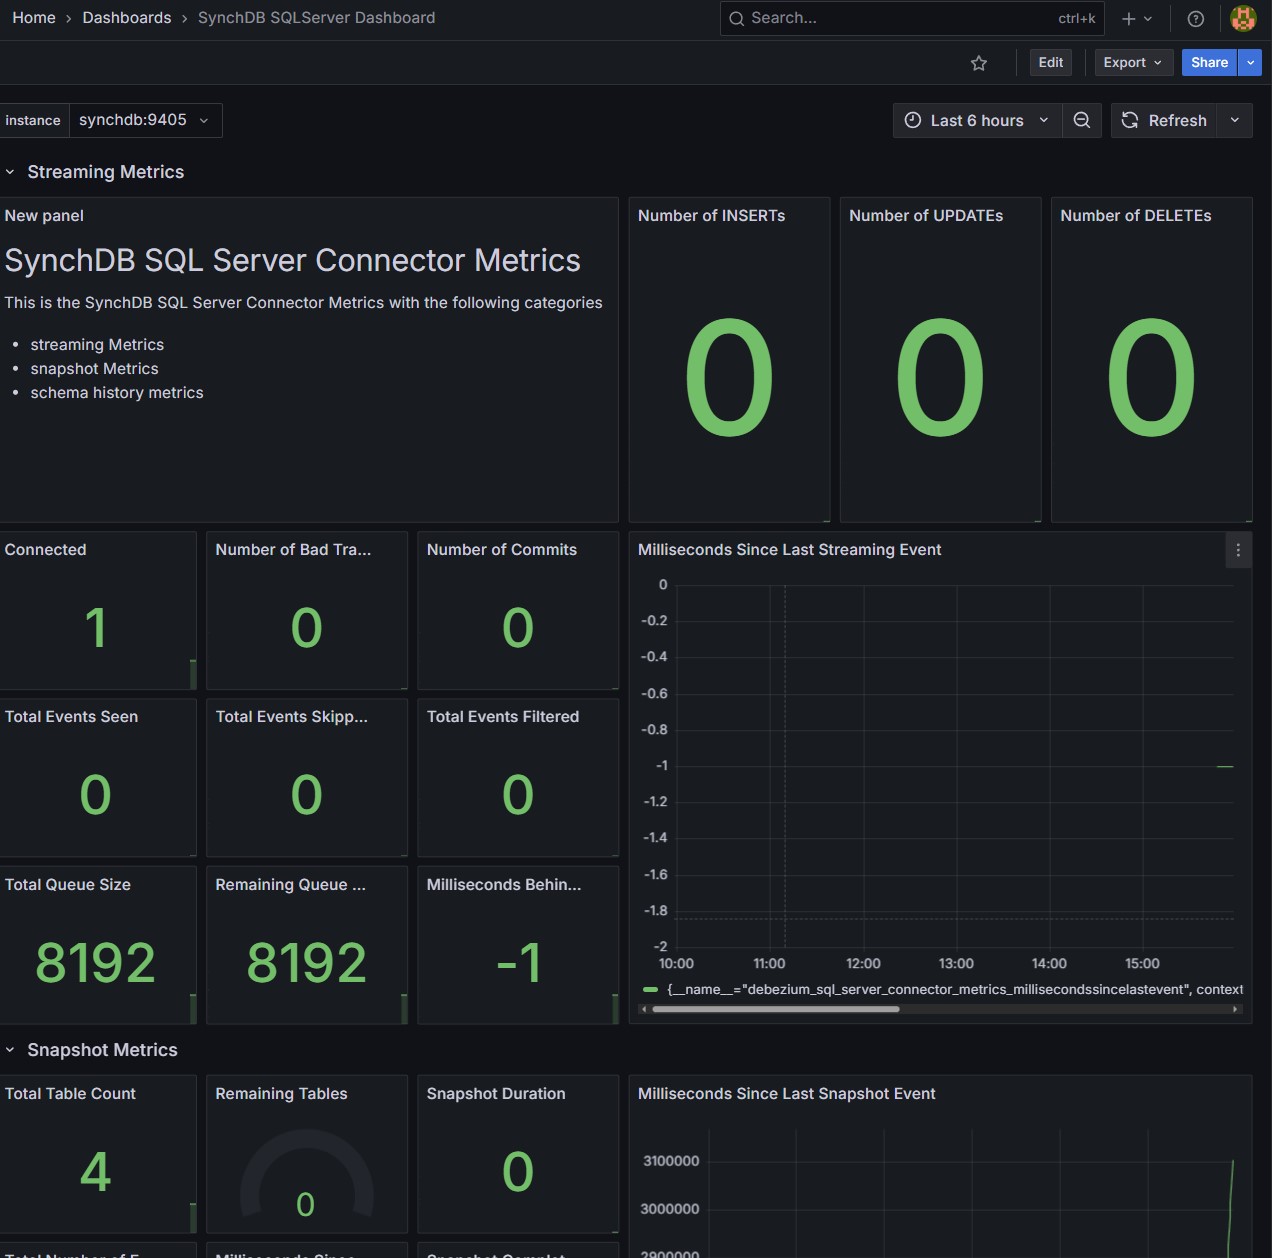
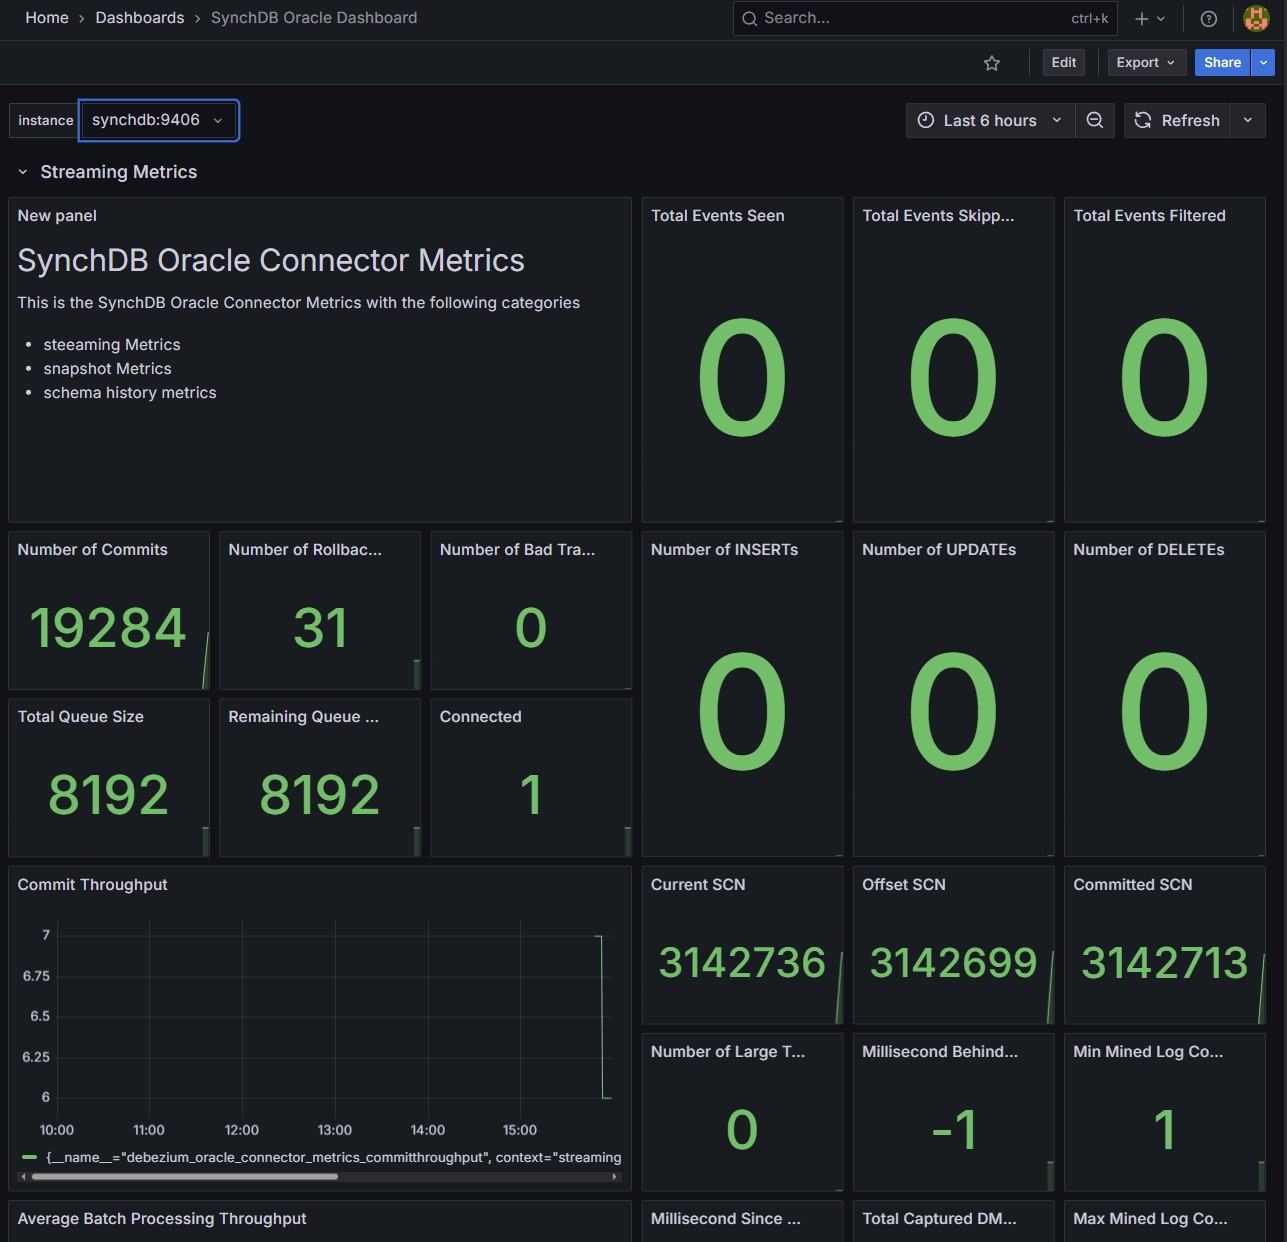
Connector Metrics on Grafana - Optional
Connector metrics will be available on Grafana if you choose to deploy monitoring using ezdeploy.sh and have called the optional synchdb_add_jmx_exporter_conninfo() before starting the connector.
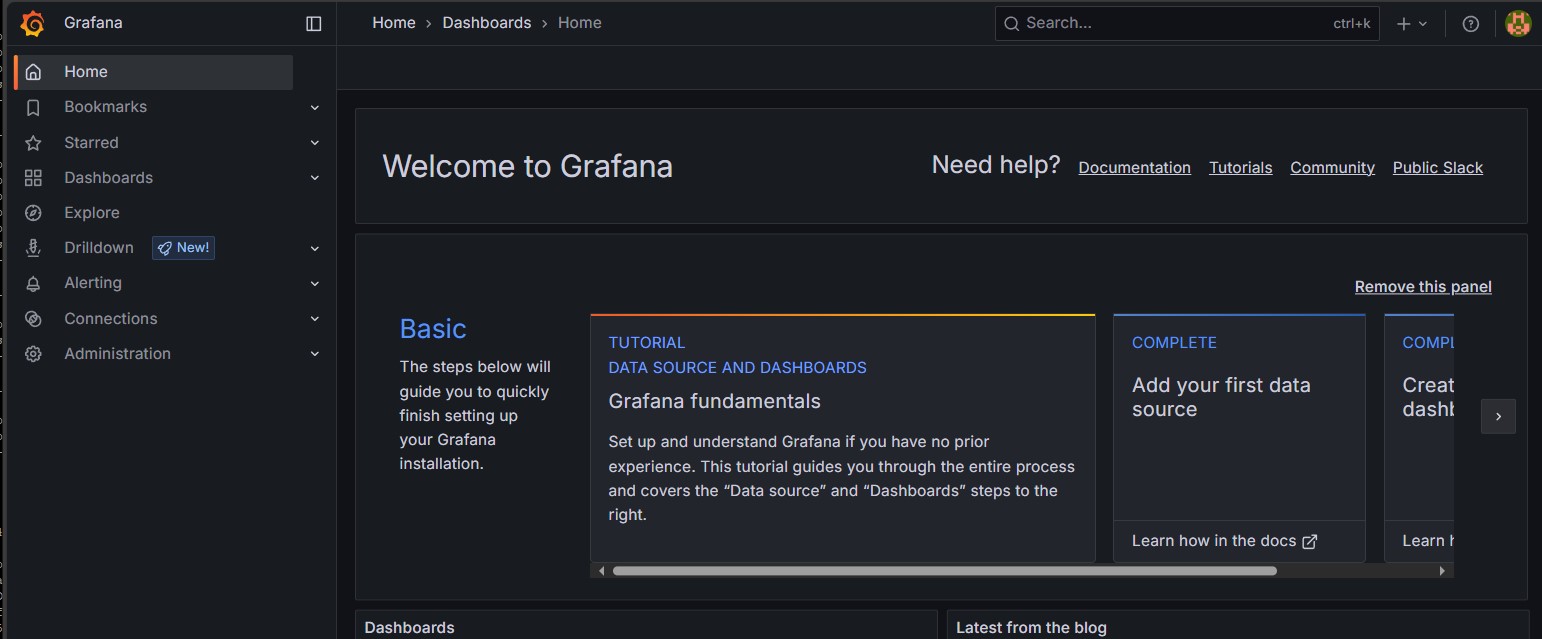
- Access Grafana: http://localhost:3000/
- Default Login: admin/admin (You will be required to change password on first time login)
Nativate to the dashboards menu:
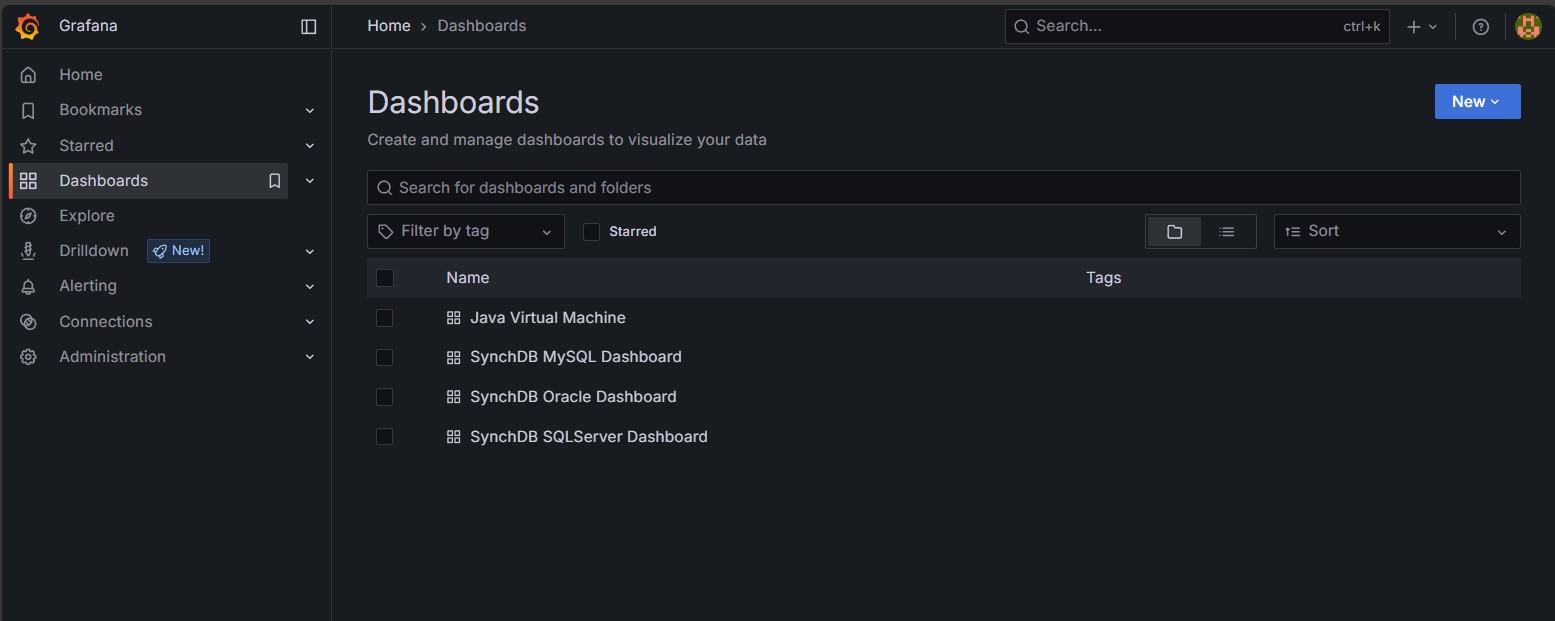
Select desired templates: * Java Virtual Machine - resource information about JVM * SynchDB MySQL Dashboard - information about MySQL connector * SynchDB SQLServer Dashboard - information about SQLServer connector * SynchDB Oracle Dashboard - information about Oracle connector
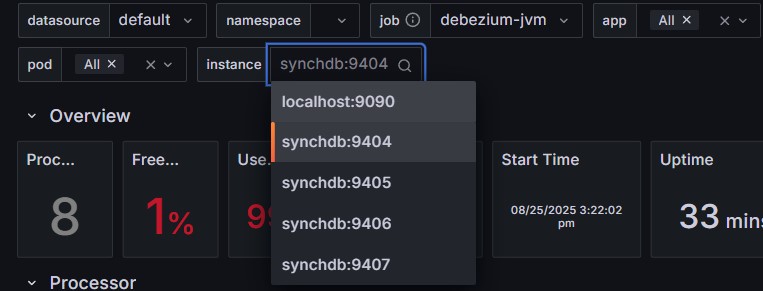
Select desired Instance: Each connector with JMX exporter enabled is bound to a dedicated port number so that prometheus can fetch the data from. Use the instance drop-down menu to select a connector by port number.
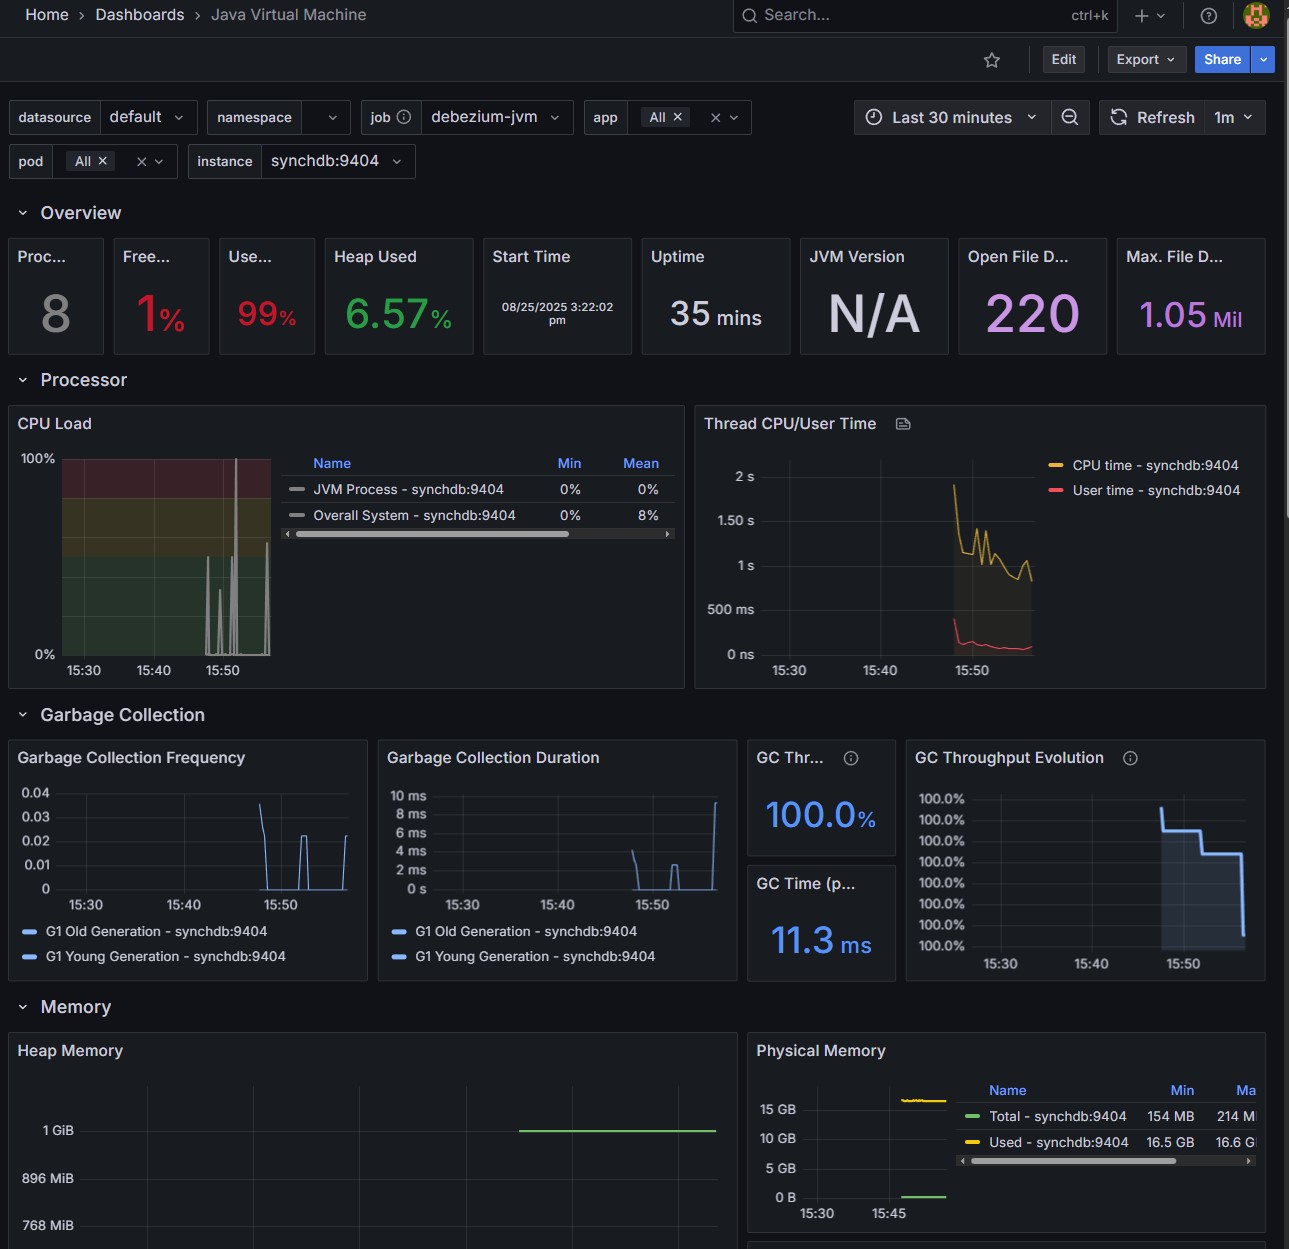
Java Virtual Machine Dashboard:
MySQL Dashboard:

SQLServer Dashboard:
Oracle Dashboard:
Stop and Remove a Connector
MySQL:
SELECT synchdb_stop_engine_bgw('mysqlconn');
SELECT synchdb_del_conninfo('mysqlconn');
Sqlserver:
SELECT synchdb_stop_engine_bgw('sqlserverconn');
SELECT synchdb_del_conninfo('sqlserverconn');
Oracle23ai:
SELECT synchdb_stop_engine_bgw('oracleconn');
SELECT synchdb_del_conninfo('oracleconn');
Oracle19c:
SELECT synchdb_stop_engine_bgw('ora19cconn');
SELECT synchdb_del_conninfo('ora19cconn');
OLR(Oracle19c):
SELECT synchdb_stop_engine_bgw('olrconn');
SELECT synchdb_del_conninfo('olrconn');